Setting up itch for development
itch is built in TypeScript and runs inside of Electron.
To get started, install the latest node.js
Linux distributions tend to ship outdated node.js versions
Use the nodesource binary distributions to get an up-to-date one.
Then, clone the https://github.com/itchio/itch repository somewhere.
Install the javascript dependencies by running this command from within the itch directory you've just cloned:
$ npm install
For native modules, you'll need a compiler toolchain: Visual Studio 2015 on Windows, gcc/clang on Linux/macOS. See the node-gyp page for more information on this.
Finally, start the app!
$ npm start
The first run will seem slow, because the compile cache is empty. Subsequent runs will be much faster.
Environment
There are three environments in which the app can run: development, test, and production.
development is what you'll be using to develop the app. It includes warnings and tools that aren't in the other environments, such as:
- Hot module reloading
- React warnings
production is what the app runs on when it's released as a package to end-users. It's a fast, no-nonsense environment, and it enables things like self-updates, locale updates, etc.
test looks a lot like production except that some things are disabled: logging, for instance, is suppressed. The app will also not exit by itself, but print a well-known string to the console, allowing the integration test runner to kill the app itself.
App structure
The main process is the first process when itch is started. It's basically a node.js runtime.
In main, we:
- Read preferences from disk
- Set up proxy settings
- Set up the
itch://protocol - Install/update components like
butleranditch-setupif needed - Create the tray icon
- Create native windows
- Maintain the canonical version of the app state.
Each native window conceptually has its own renderer process, which is basically a Chromium process (but with node.js integration).
(In reality, they're separate execution contexts that all live in the same process). In the renderer process, we:
- Render all the app's UI
- Including webviews
- Make remote procedure calls to the butler daemon to fetch data
- etc.
All processes have a redux store, the main store is the reference, and the other stores are synchronized by sending inter-process messages, which is done transparently by redux-electron-store.
Chrome Developer Tools (renderer)
Press Shift-F12 to open the Chrome Developer Tools, to inspect the DOM, run arbitrary javascript code in the chrome side of the app, etc.
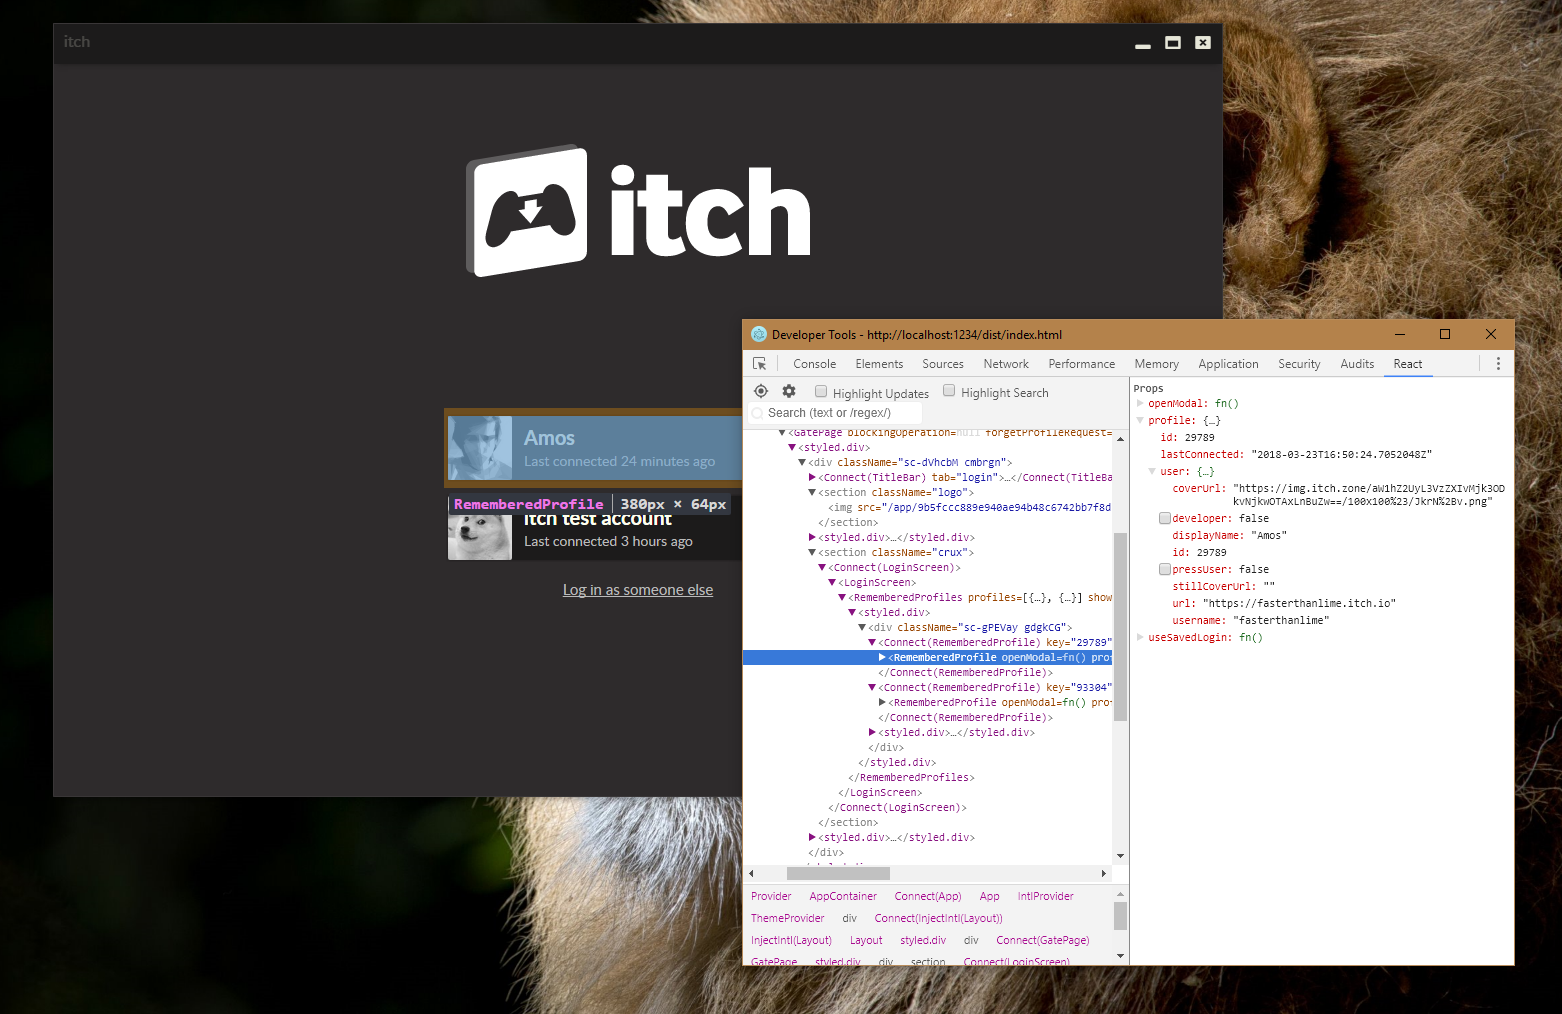
The React devtools are automatically installed in the
developmentenvironment, although you'll need to reload the page after opening the devtools to see the tab.
If the app crashes before it gets a chance to install the keyboard shortcut,
you can export DEVTOOLS=1 before starting the app so that they open as early as possible.
See Environment variables for a list of useful ones.
Chrome Developer Tools (main)
In development, the app serves a debugging interface on port 9222.
If you open a chrome://inspect tab in Google Chrome, it should show up under Remote Target (#LOCALHOST). (If it doesn't, you can add it manually).
You can use those to step through code in the main process. This is particularly useful if an exception is thrown, but you don't know exactly why.
This works on release builds too:
- Launch itch with
itch --inspect-brk=9222 - Open
chrome://inspectas a tab in Google Chrome - Check the "Pause on exceptions" button (top right)
- Evaluate
global.require = requireif you're planning on requiring stuff- Note: modules that are bundled by webpack can't be required this way
- Note: the store is assigned to
global.ReduxStore, so you can easilygetState()ordispatch()
- Resume execution
Note that pausing in the developer tools will freeze the whole app, so your OS might complain it's unresponsive.
Compiling
TypeScript sources and static assets live in src. They're compiled and bundled by webpack.
In development, files are recompiled automatically and the chrome side is served over HTTP.
npm startis not black magic, it just runsdevelop.js- feel free to look into it
In production, they're precompiled and packaged so that a lot of development dependencies are not included in the final builds.
Hot module reload
When the app is started in developent, it watches for file changes, and reloads parts of itself automatically. This mostly applies to the renderer side of the app, React components in particular.
By having your code editor and the app open side to side, you can quickly iterate on the looks of a React component.
Code style
We use prettier to make sure the codebase has a consistent style.
There's a pre-commit hook that formats staged files. It's powered by husky and lint-staged, see the package.json
for the configuration.
Some text editors have plug-ins for prettier, which can help you format on save. There are workspace settings for the Visual Studio Code prettier plug-in in the repository.
Asynchronous code
We use TypeScript's async/await support so that instead of writing this:
function installSoftware (name: string) {
  return download(name)
    .then(() => extract(name))
    .then(() => verify(name))
    .catch((err) => {
      // Uh oh, something happened
    });
}
...we can write this:
async function installSoftware (name: string) {
  try {
    await download(name);
    await extract(name);
    await verify(name);
  } catch (err) {
    // Uh oh, something happened
  }
}
In development, async/await code is transformed using babel to bluebird promises, which in turn uses coroutines and has long stack traces support.
This lets us dive into issues that involve several promises awaiting each other. In production, they're left as-is, since both Node and Chrome now support async/await.
React components
React components are TypeScript classes that extend React.PureComponent. All components are pure components, never extend React.Component instead.
We have a hook function that allows writing fully type-checked connected components (it uses redux's connect under the hood).
Look at src/renderer/basics/ for simple examples.
Styled components (CSS)
Most of the CSS styles in the app are handled by styled-components.
This lets us handle theme switching, namespace and compose our styles easily.
Some text editor plug-ins, like styled-components for Visual Studio Code provide syntax highlighting for css blocks.
Testing
We check the quality of the app's code by two kinds of tests:
- Unit Tests, which test the code
- Integration Tests, which test interactions
Check out the pages linked above to learn more about what their purpose is, when and how they're run, and how they're written.